
The Audio Bridge is free with any MySetlist account. It is not quite ready to download — we will announce it in the app the moment it is.
Regular browsers cannot stream multitrack audio. Routing more channels than regular 2-track stereo is not possible, so if you want your click and cues, sidechain channels and LTC on different outputs, you cannot achieve that with a browser alone. This is where the Audio Bridge comes in.
With the Audio Bridge you can route the music, click and cues, sidechaining and LTC to separate outputs on your audio device.
On this page
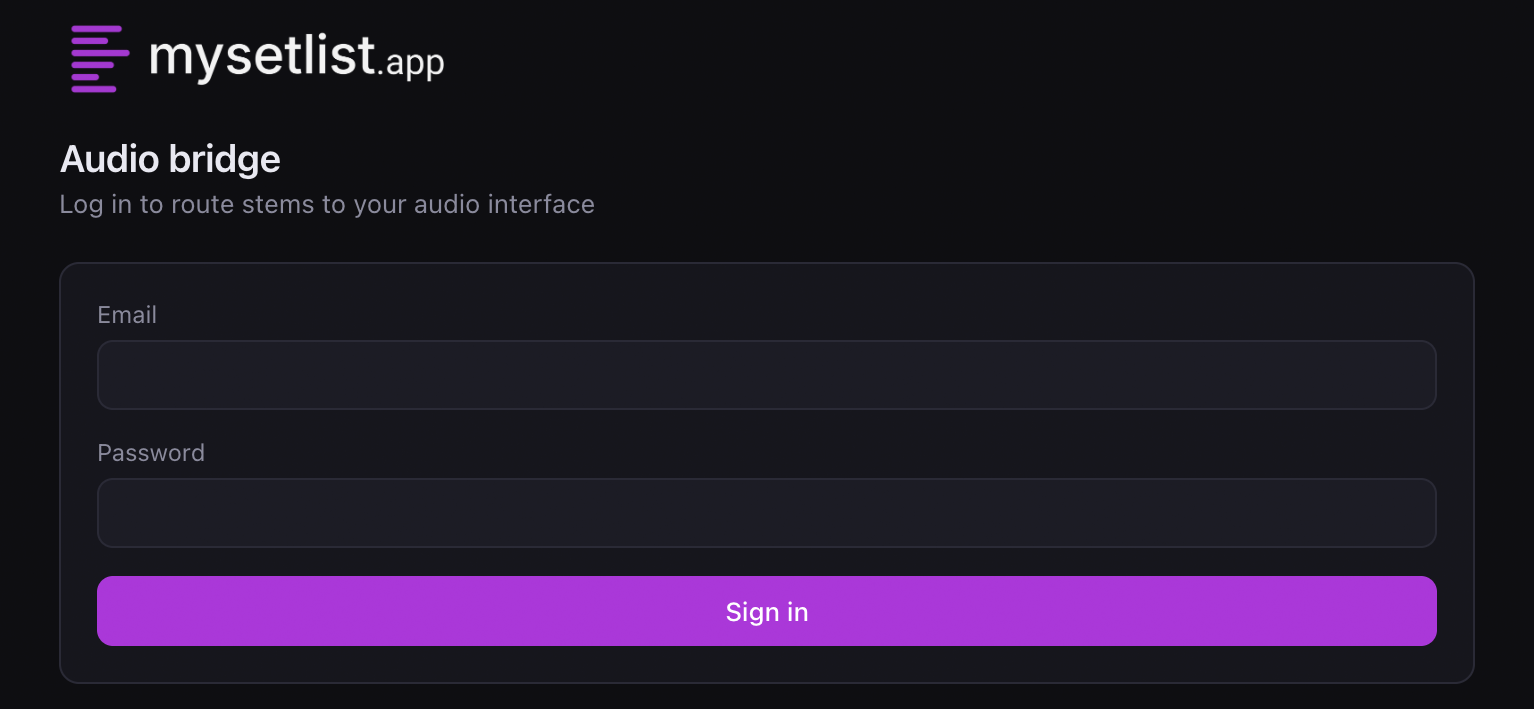
Log into your account in the Audio Bridge. If you have forgotten your login information, you can reset your password on mysetlist.app.
You stay signed in between sessions, so this is normally a one-off.
The first time you open the stem player with the Audio Bridge running, your browser may ask whether the website is allowed to connect to an application on your computer. Choose Allow. Without it the browser cannot reach the Audio Bridge, and the stem player will quietly fall back to playing through the browser instead — you would get sound, but only through your default output, with no multi-channel routing and no timecode.
The wording differs between browsers. Safari and Chrome usually mention an external or local application; the answer is the same in each case.
If you dismissed it by accident, the permission is remembered per site. Reload mysetlist.app and open the stem player again, and the prompt reappears. If it does not, clear the site's settings for mysetlist.app in your browser and reload.
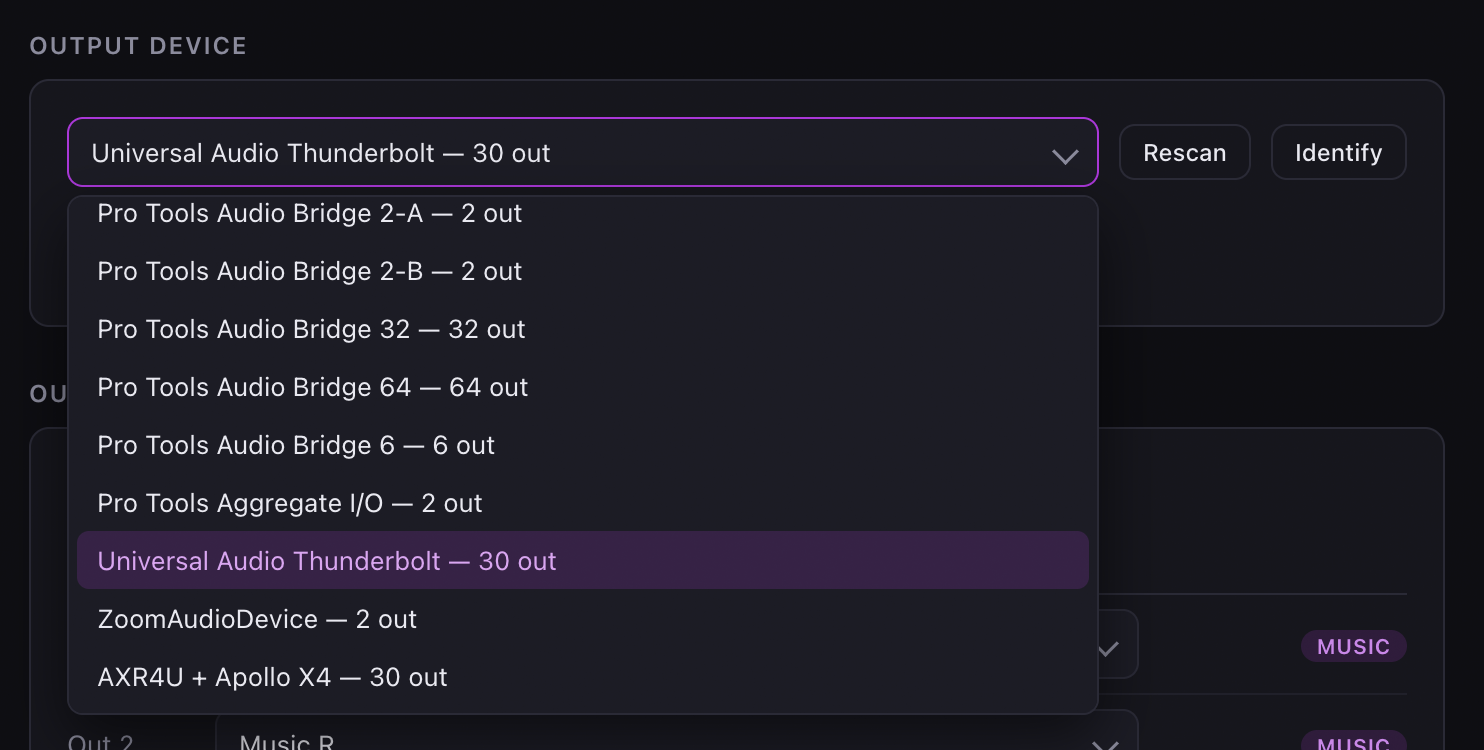
After logging in, select your audio output device. This is the audio interface you want to use.
If you cannot find the interface you want in the list, click Rescan. This rebuilds the list of available output devices.
Click Identify to send a simple signal to the first output of your audio interface, which is the quickest way to confirm you picked the right one.
If your device still does not appear, check that it is switched on and connected to your computer.
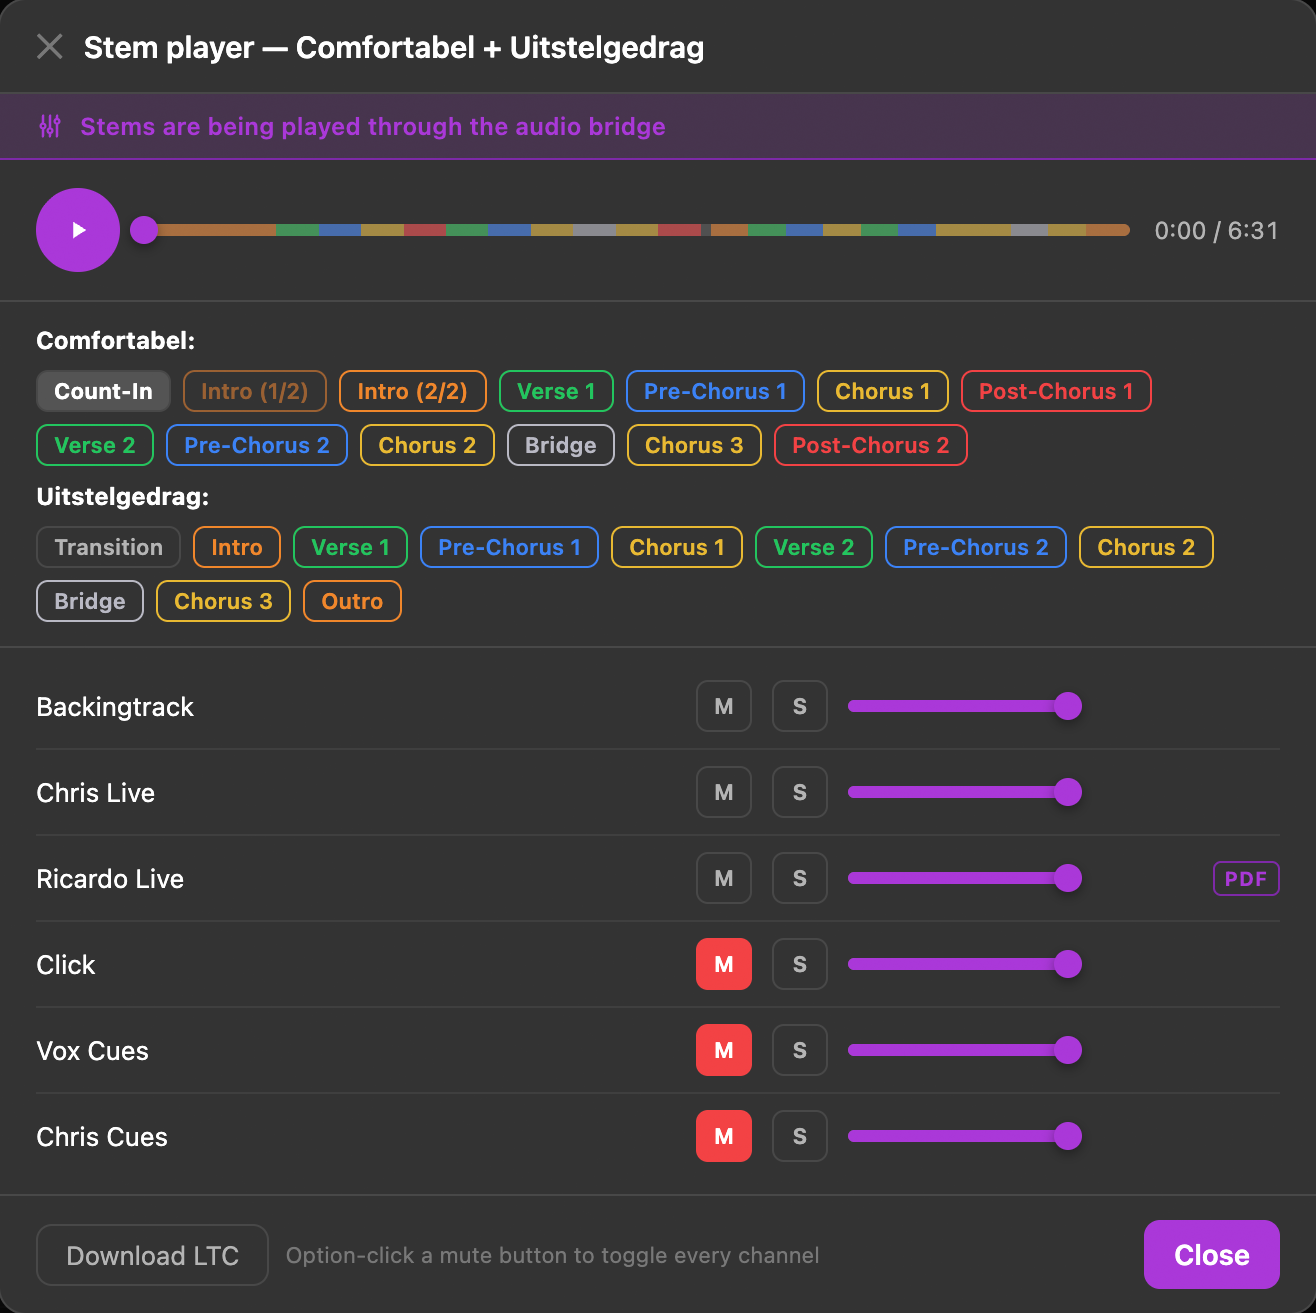
In MySetlist, click a track's mixer button to open the stem player for that song.
MySetlist recognises that the Audio Bridge is open and sends the audio to it automatically — there is nothing to connect by hand.
In the stem player, the message Stems are being played through the audio bridge appears.
To start or pause a song, or change the volume of a channel, use the stem player in your browser.
The Audio Bridge is solely a tool to route multitrack audio to your audio interface. Control of the music still happens in the web app.
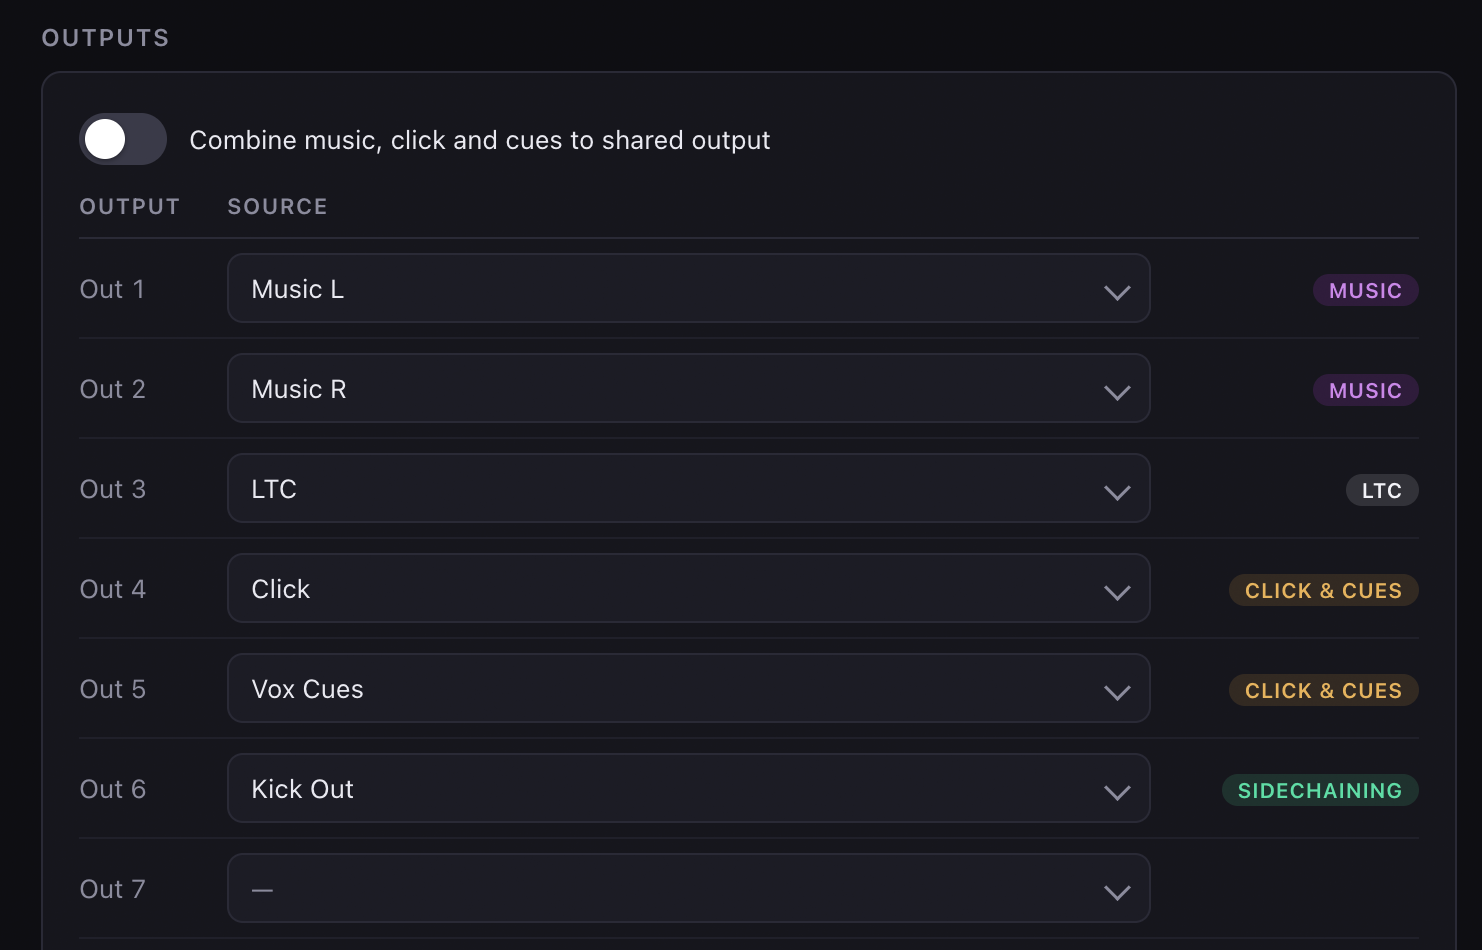
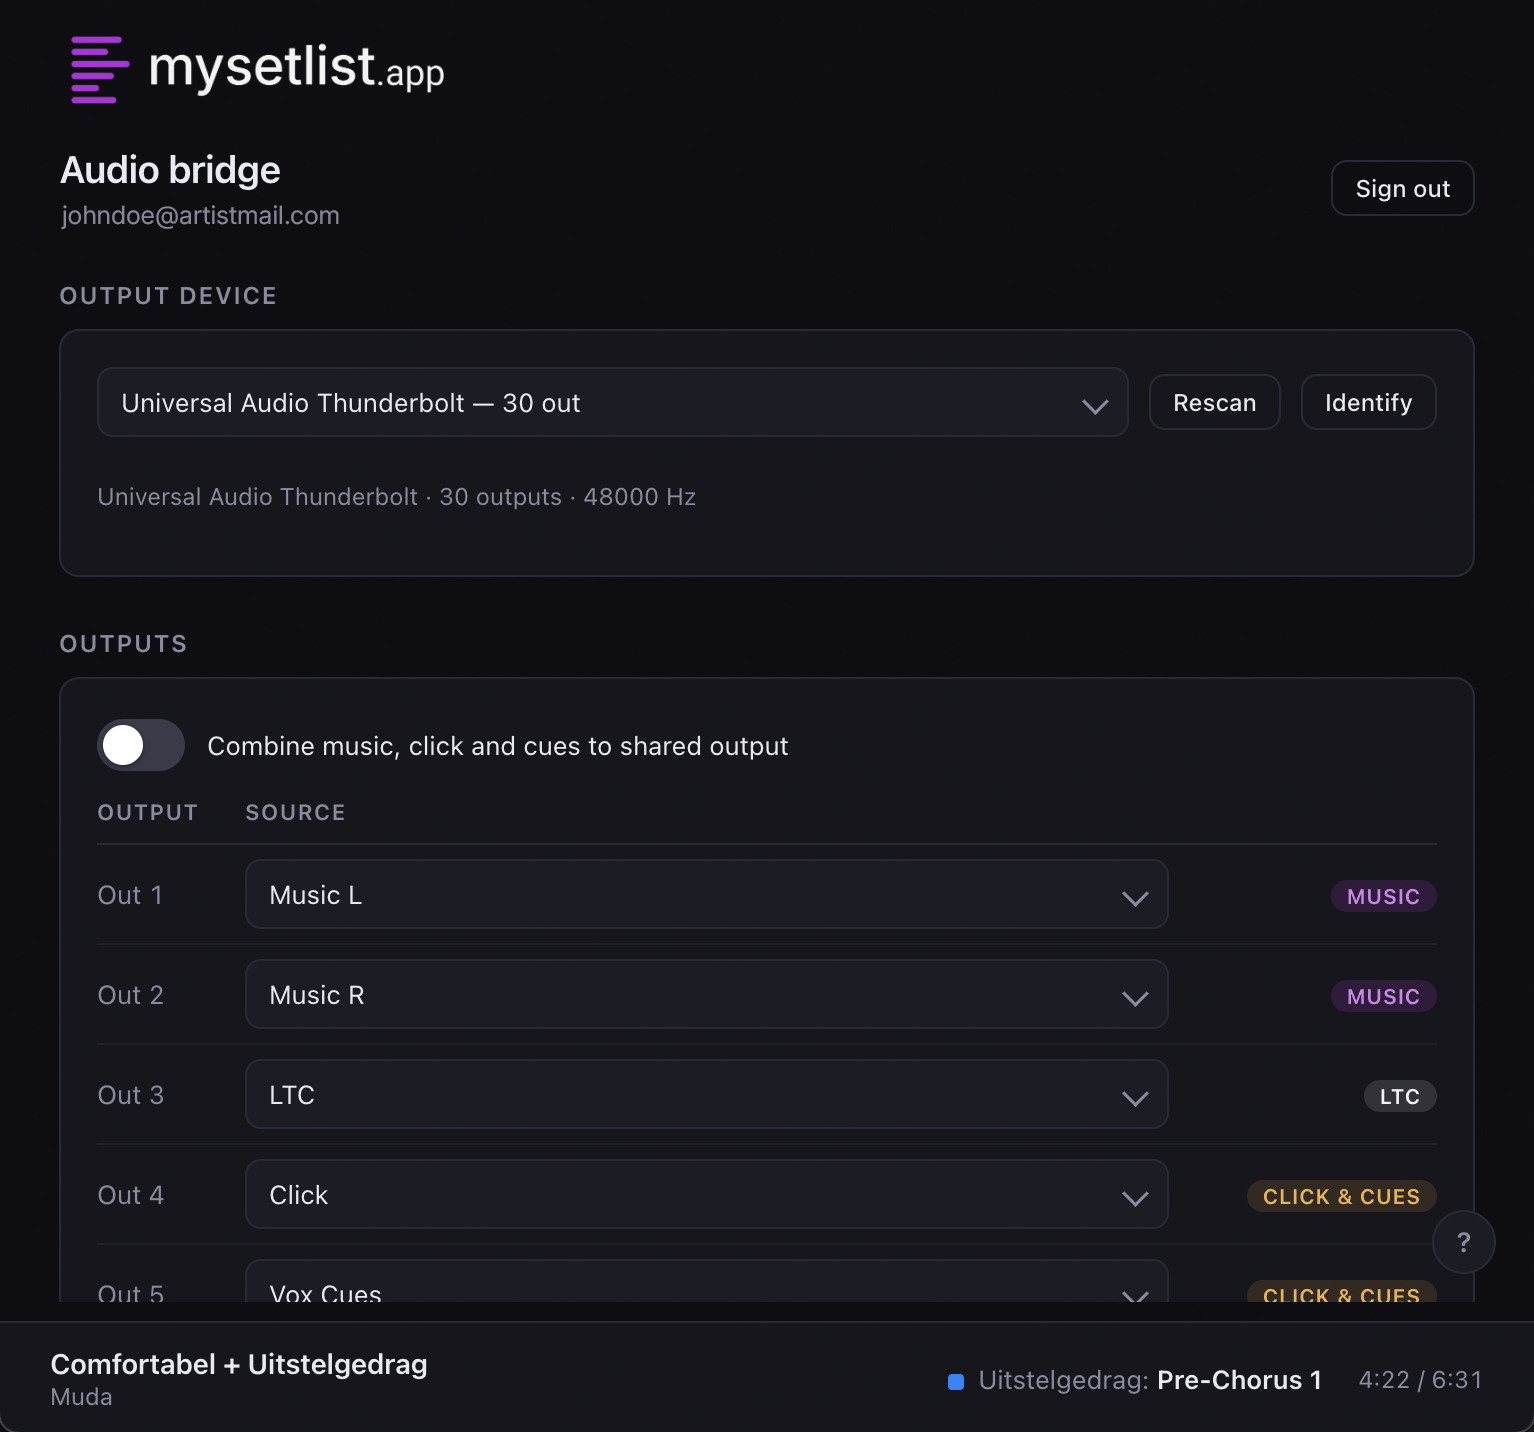
After selecting your audio device, a list of all the outputs that device has appears. Use the dropdown menus to route the channels of a song to an output.
You can send:
If you want to reduce the number of outputs you need, enable Combine music, click and cues to shared output. The click and cue channels are then mixed into the music channels, so selecting the music channels also gives you the click and cues.
Clicking Clear patch clears all set patches.
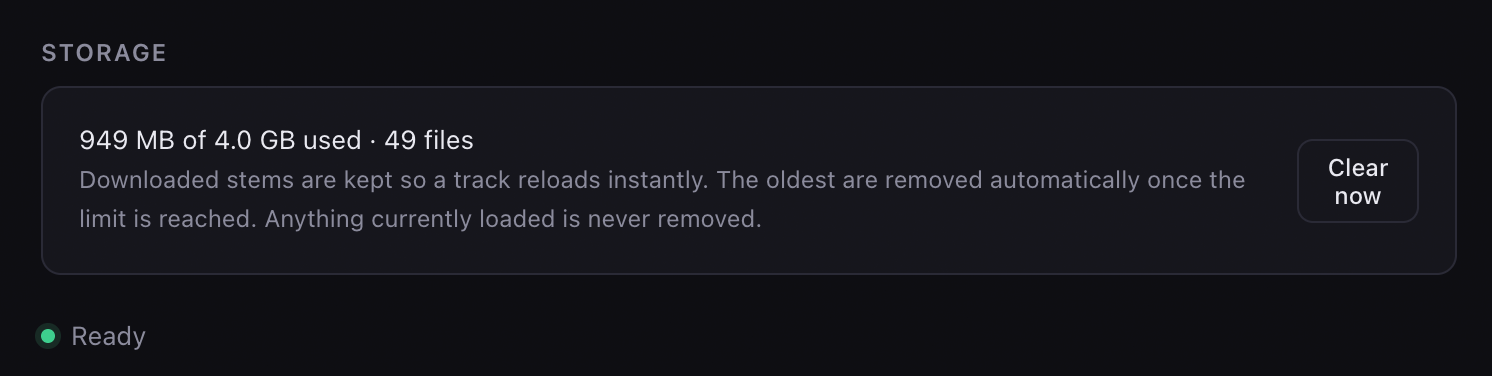
The Audio Bridge stores audio data on your computer, capped at 4 GB. Every time you open the stem player for a song whose data is not already on the computer, the Bridge downloads that audio from the internet.
Once the 4 GB limit is reached, the oldest files are deleted automatically. Anything currently loaded is never removed.
You can clear all stored audio yourself by clicking Clear now.
Stuck on something this page does not cover? Contact us at support@mysetlist.app.