
The Song Sections Exporter reads the structure of your Ableton set — section names, song titles, and tempo and time signature changes — and writes it to a file you upload to MySetlist. The stem player then shows your song sections, so you can see and jump to any part of a song.
On this page
Live Suite comes with Max for Live included. If you are on Live Standard, Max for Live is available as a separate add-on via Ableton's webshop.
Move or copy MySetlist Song Section Exporter.amxd into the Max for Live folder
inside Live's User Library. Once it is there, the Exporter appears in Live's browser under
Max for Live – Max MIDI effect every time you open Live.
Right-click User Library in Live's browser and choose Show in Finder (Mac) or Show in Explorer (Windows). This opens the User Library without you having to find it yourself.
To export all the data the stem player needs, your set has to describe its own structure. That means four things: a MIDI track for the device, a clip per section, a locator per song, and correct tempo and time signature information.
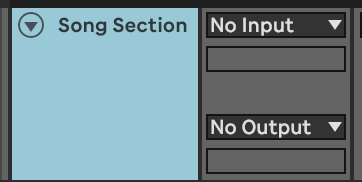
Create a MIDI track — the name does not matter — and drop the MySetlist Song Section Exporter Max for Live device onto it.
Set the track's MIDI From to No Input and its MIDI To to No Output.
The Exporter reads clips off the timeline rather than responding to live MIDI, so it needs nothing routed in or out. Leaving the routing open just risks this track sending stray notes into an instrument elsewhere in your set.
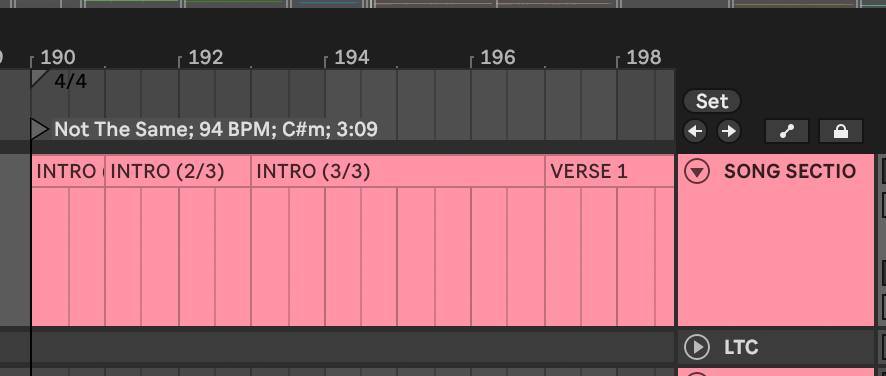
Select a range on the timeline and press ⌘ Cmd + ⇧ Shift + M (Mac) or Ctrl + ⇧ Shift + M (Windows) to create an empty MIDI clip.
With the clip selected, press ⌘ Cmd + R (Mac) or Ctrl + R (Windows) and type the section name — Intro, Verse 1, Chorus, and so on. That name is what you will see in the stem player.
Looping a clip is fine. A looped clip still counts as one section, not several.
If a song starts with a count-in, give the count-in its own named clip as well.
Right-click in the scrub area at the top of the Arrangement view, choose Add Locator, and rename it to the title of the song. Place one at the start of every song.
The first section after a gap is treated as the start of a song. If there is no locator at that exact position, the Exporter falls back to the name of the next locator it finds — which is usually not the name you wanted. It is worth checking the locators line up with the song starts.
The Exporter reads your tempo and time signature, including any changes across the set. The stem player uses these to work out bar positions, which is what lets a section be cued one bar early instead of exactly on its first beat. Sections still display without this data, but those timing features will not work as intended. Set your tempo and time signature properly, and add automation wherever they change.
The Exporter works out where songs begin and end from the gaps between clips:
That covers most sets. When it does not, two MIDI notes let you override it.
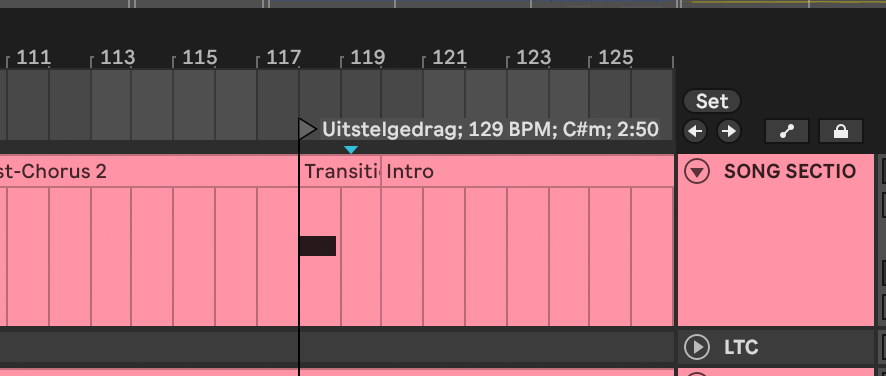
Two songs butted up against each other with no gap reads as a single song. To split them, put any C note at the start of the second song. This ends the previous song and starts a new song at that timestamp.
Add a locator at the same position with the new song's title, or the Exporter will fall back to the next locator's name.
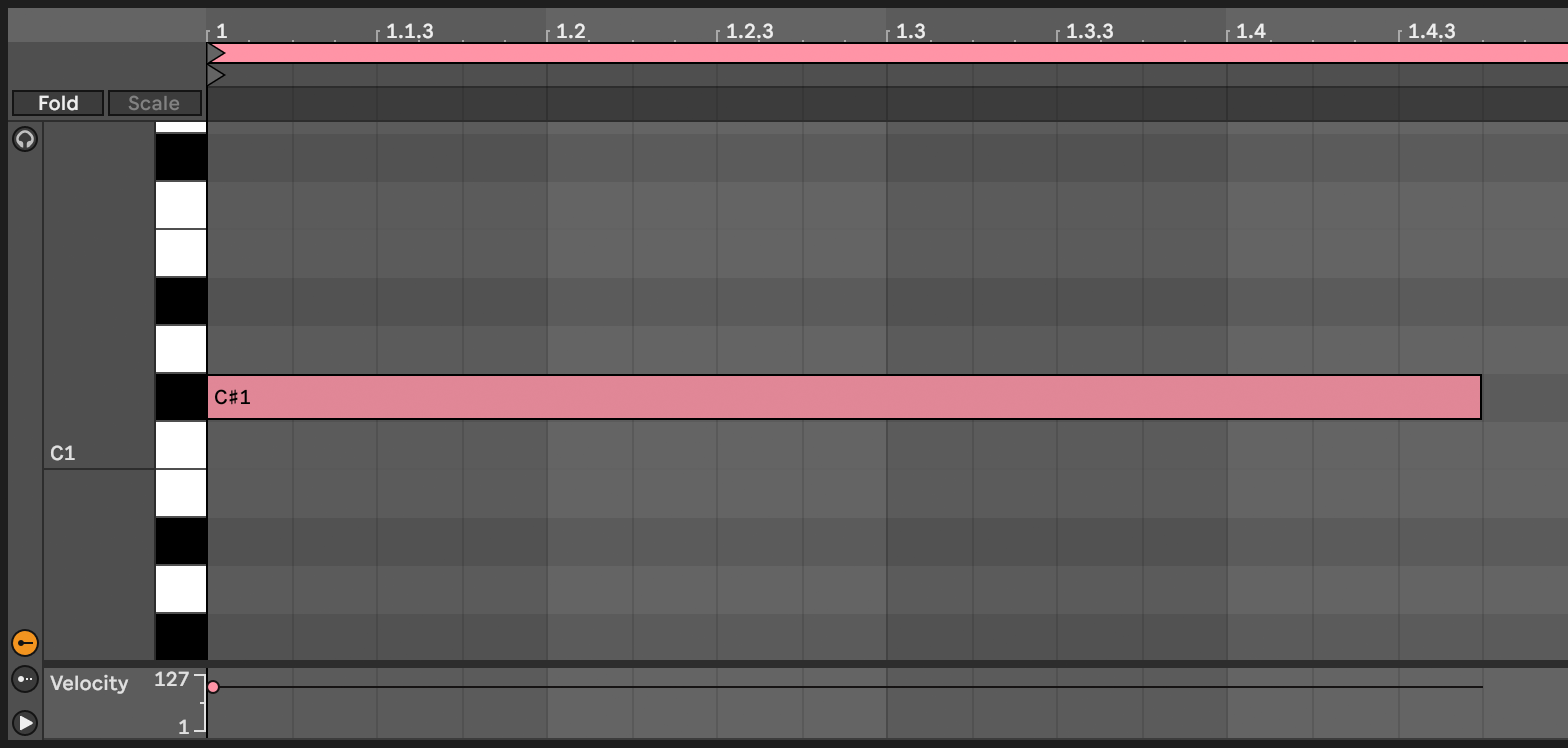
When several songs live inside one arrangement, a single unbroken list of sections gets hard to read in the stem player. Put any C♯ note at the start of each new song within the medley and they are separated into distinct songs, all inside the same stem player.
As above, add a locator at the same position with the song's title.
With your set prepped, open the Exporter and:
The Exporter writes to your own disk and never contacts our servers.
On MySetlist, go to Manage artist → Stems and sheet music
→ Song sections, then drag the exported .json file into the
uploader.
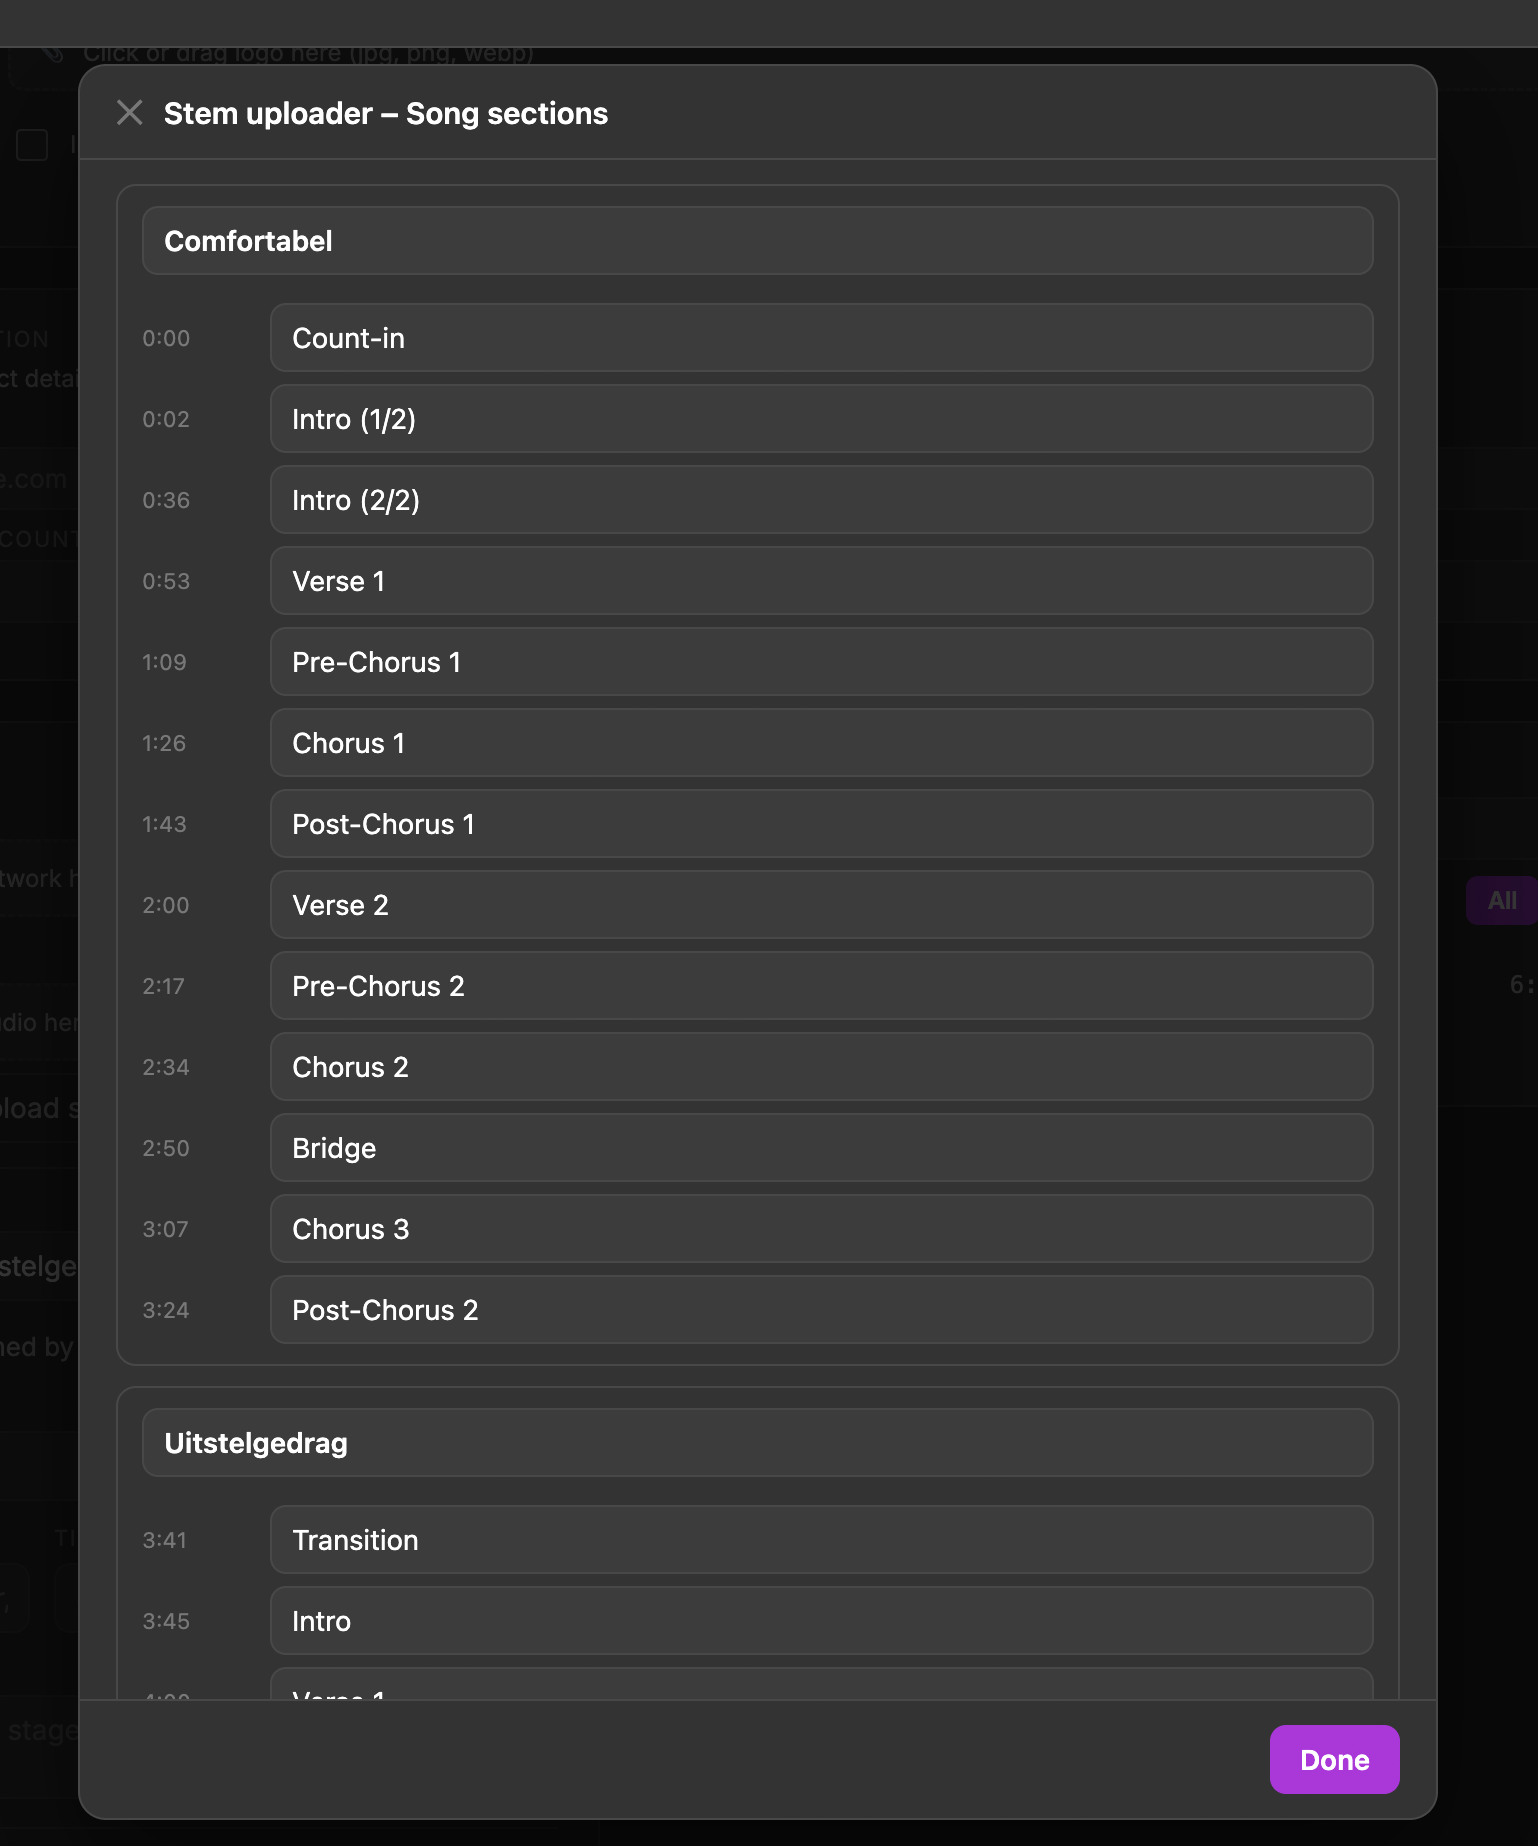
Once uploaded, every song title and section name is editable in this panel, so you can adjust anything without going back to Live and re-exporting. Renames are saved when you press Done, and appear in the stem player straight away.
Stuck on something this page does not cover? Contact us at support@mysetlist.app.